Measuring the viscosity of paints and coatings is important in ensuring their proper application and performance. While you can purchase a viscosity cup, you can easily make your own with materials you already have at home. With this step-by-step tutorial, you’ll be able to create your own viscosity cup in no time.
Gather Your Materials
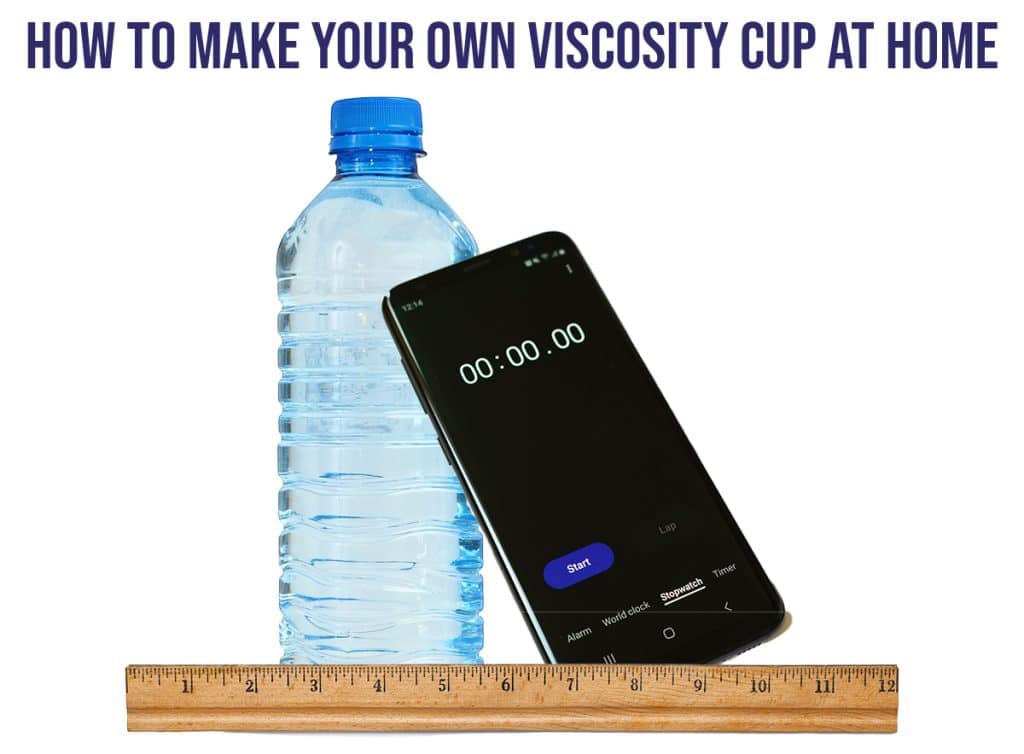
The first step in making your own viscosity cup is to gather the necessary materials. Luckily, you may already have everything you need at home! You’ll need a disposable cup or container, a ruler, and a stopwatch or timer. You’ll also need a drill or sharp object to create a small hole in the bottom of the cup. Once you have all of these materials, move on to the next steps to making your own cup!
Create Your Cup Template
The first step in making your own viscosity cup is to create a template for the cup. Take your disposable cup or container and place it on a flat surface. Then, use a ruler to measure about 1/3 of the way up from the bottom of the cup. Mark this spot with a pen or marker. Next, use your drill or other sharp object to carefully create a small hole in the center of the marked spot. Be careful not to make the hole too large or too small. You want it to be just big enough to allow paint or coating to flow through easily. Once you’ve created this hole, your viscosity cup template is complete. Now you’re ready to move on to the next step!
Cut Out Your Cup
After creating the template for your viscosity cup, cut out your disposable cup or container at the marked spot. Use a pair of sharp scissors to carefully trim around the markings until you have removed the top portion of the cup. This will leave you with a smaller container that has a bottom and a small hole in the center. Remember to be precise when cutting, as any unevenness could affect the accuracy of your viscosity measurements. Once you’ve cut out your cup, it’s time to move on to the final steps of assembling your homemade viscosity cup!
Glue the Cup Together
After cutting out the marked portion of your disposable cup or container, it’s time to glue it back together. Use a strong adhesive like super glue or epoxy to attach the smaller cut-out portion to the top of the remaining larger portion. The hole in the center should be aligned with the bottom of the larger portion to allow for accurate viscosity measurements. Make sure to hold the pieces firmly together for a few minutes until the glue dries completely and securely holds the cup together. With this simple step, your homemade viscosity cup is now complete and ready to use!
Test the Viscosity of Your Paints or Coatings.
Measuring the viscosity of your paints or coatings is an important step in ensuring their quality and consistency. With a homemade viscosity cup, you can easily measure the thickness of your paints or coatings to ensure they are suitable for your specific application. Simply pour a small amount of paint or coating into the cup, wait for it to drain completely through the hole at the bottom, and record the time it takes to complete this process. This will give you a viscosity reading that you can compare to industry standards or previous measurements to ensure consistent results. By making your own viscosity cup with materials you already have at home, you can save time and money while improving the quality of your work.
Purchase A Viscosity Cup
If you’d rather skip the DIY and buy a viscosity cup. You can find them in the links below in a range of sizes.